Who Should Read This Tutorial:
Windows XP, Vista and 7 Users
One of the most powerful timesavers in any Windows Operating System (OS) is
the right-click. Most computer users have noticed that their mouse has
both a left and a right button, but few actually use the right-click.
We use it often as it can cut down on the time it takes to complete a task
in Windows.
Here are the basics things you should know about the right-click: 1)
most of the time, when you click on an object in Windows by right-clicking,
a menu will appear; 2) menu items will vary greatly from object to object;
3) when you do get a menu by right-clicking, you choose to activate an item
on the list by LEFT-clicking.
Let's look at some examples:
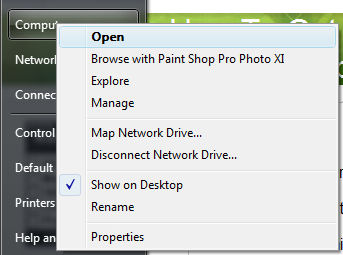
1) When we right-click on COMPUTER in
Windows Vista, here is the menu which appears:
Notice that
one of the items in the menu is "Browse with Paint Shop Pro Photo XI."
You will not see this item if you right-click (My) Computer on your
machine unless you happen to have that program installed. However,
you might see some other program listed on your computer which is not
listed in this example.
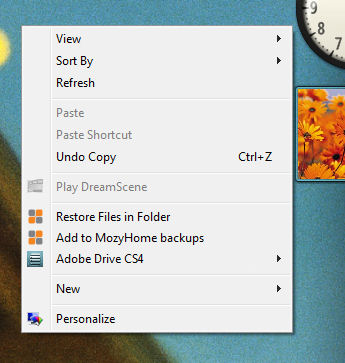
2) When we right-click on the DESKTOP
on this same Vista machine, here is what we see:
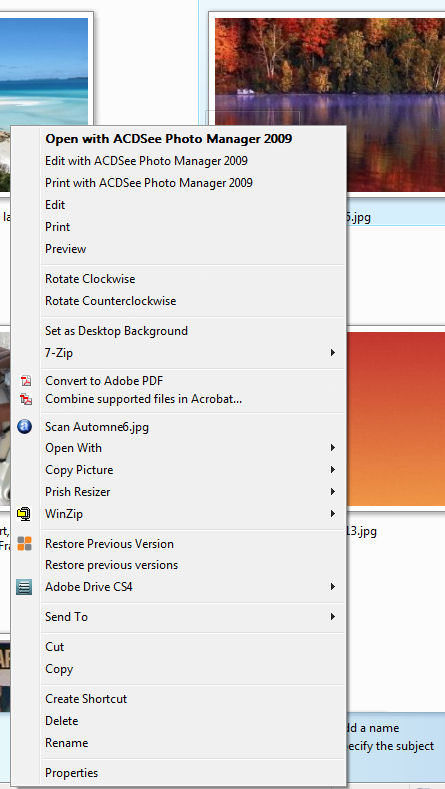
3) If we go into PICTURES and
right-click on a picture, this is the menu which appears:
Notice there are many options on this menu. Again, some of these will not appear on your computer unless you have the same software installed.
4) Occasionally, you may right-click
on an object and either no menu appears or you receive a message that
reads "What's this?" In both cases, this simply means there are no
right-click menu options available for that object.
Remember, when you have a right-click menu,
you choose a function by LEFT-clicking! If you get into the habit
of using the right-click menus, you will find you save time performing
many tasks in Windows! Try it! If you have any questions or problems, feel free to email us
at
[email protected].