If you are using Windows XP Home edition, the Backup feature is not installed by default. However, you can install the Backup program from your original Windows XP Home Edition disk. (See this URL for instructions on installing Backup from disk: http://support.microsoft.com/kb/302894/EN-US/.) If you don't have the disk, you can also download and install Backup here: http://www.keystonecomputerconcepts.com/downloads/NTBACKUP.zip. If you have Windows XP Pro, Backup is already installed. Here are the instructions on how to use Windows Backup:
1) From the START menu, go to ALL PROGRAMS, then ACCESSORIES, then SYSTEM TOOLS. Under that menu select BACKUP. (We suggest if you are going to back up often, RIGHT-click on BACKUP and choose PIN TO START MENU. Then, the BACKUP icon will appear at the top of the start menu - easier to get to each time.)
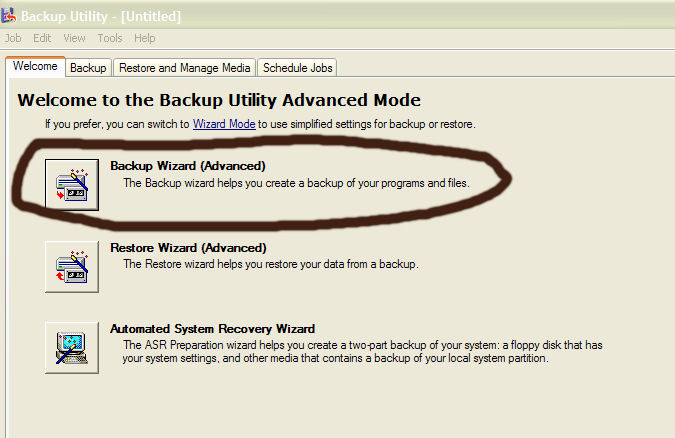
2) When the Backup Utility Window appears, click on Backup Wizard.
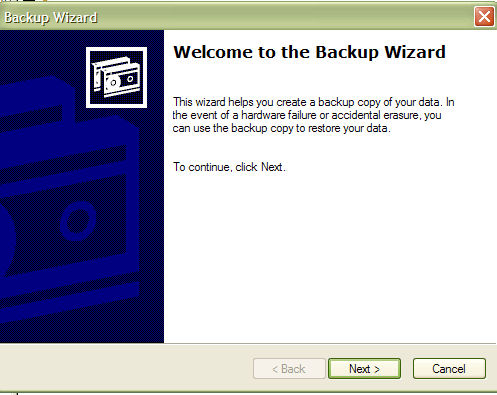
3) When the wizard appears, click on NEXT.
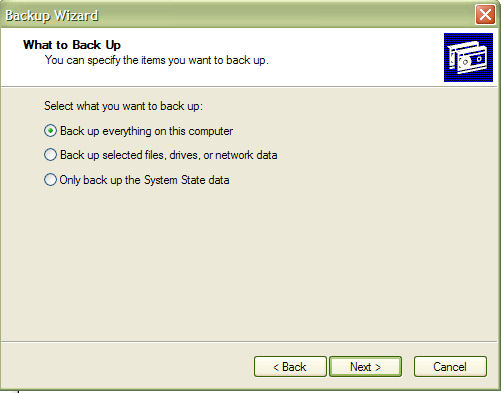
4) Select which type of backup you want to perform. If you are backing up certain files on a regular basis, choose "Back up selected files, drives or network data."
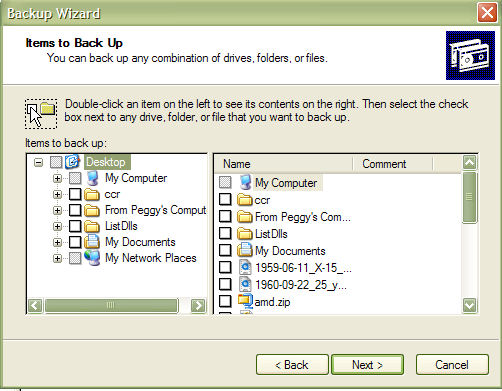
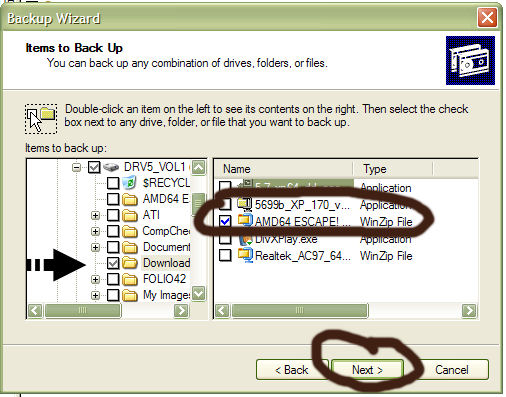
5) In the next window which appears, choose which files you want to back up. (Please note: you may need to expand (click on the plus sign OR double-click on the name) an object to get to what you want to back up. For instance, in the picture below, you would have to expand MY COMPUTER in order to back up something on the C: drive.)
6) Once you have selected the files you want to back up, click NEXT.
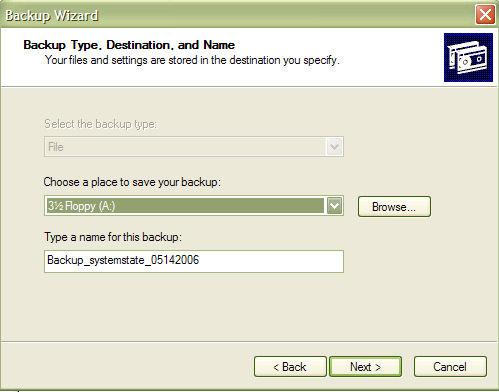
7) The following window appears and you need to give your backup a file name and you need to choose where to place the backup.
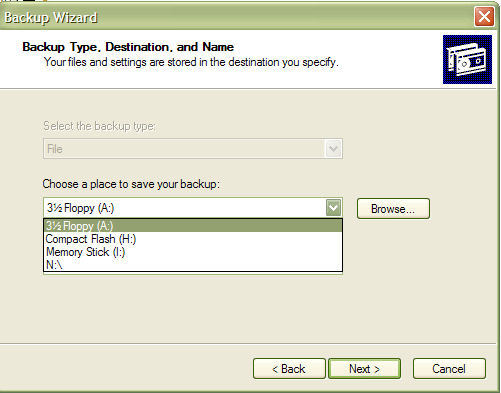
8) If you are storing you file some place other than a floppy, you can click on the drop-down menu and choose another location OR you can use the BROWSE button. Once you've selected the location, choose NEXT.
9) The following window appears. If you are ready to run the backup you just created, click FINISH.
10) The Backup will start to run and this window will appear:
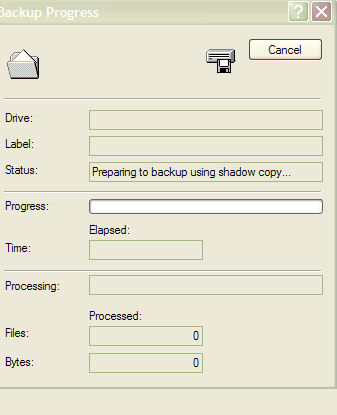
11) When the Backup is completed, just close the window and you're finished. Please note that Windows XP Backup uses shadow copy which means you can continue to work while the backup is in progress.